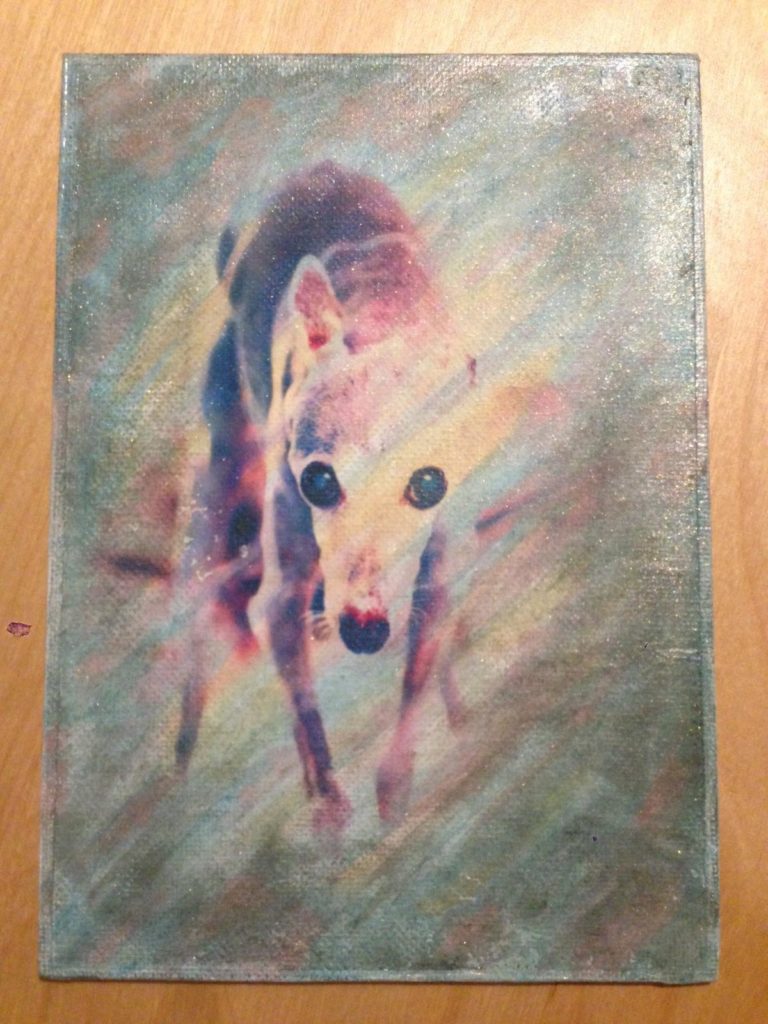
As I’ve begun to look at new ways to develop my imagery, I’ve started to play with new media and mixing them together. One of my favorite photo transfers thus far is one I did with cute little Calvin’s portrait (remember him?). Here’s a look at how I created it from start to finish.
I began by choosing a portrait to start with, and flipped it horizontally in my computer. I printed the photo with my desktop laser printer, and then prepared a blank canvas – it was a small one; 5×7 inches.
The next step was to create a background for the image on the canvas. I decided a colorful background would complement the color treatment I had given the original photograph, so I got out my acrylic paints and went to work.
Once the paint was dry, it was time to start the image transfer. I painted a generous layer of Mod Podge over the painted background, and placed the printed image face down on top of it. Then I waited.
One of the hardest things about doing this is being patient! It takes a few hours for the Mod Podge to dry. If you start the next step early, significant parts of your image are likely to peel away. I’ve gotten into the habit of waiting until the next day, though sometimes you might prefer the result of digging in early. It’s all personal preference, right?
I didn’t take pictures of the next step, so I’ll do my best to describe it here. I sprayed the entire paper with a water mister. Then, I started gently rubbing the paper to make it “pill” and peel away. With enough moisture and a little bit of friction, the paper eventually disintegrates, leaving only the image behind. Sometimes when the paper is wet, it appears to be all peeled away. But if you let it dry for an hour or so, the paper becomes opaque again, and you have to repeat the gentle peeling process. You can use your judgement here – peel every little bit of paper away, or leave some there on purpose to enhance the look of your piece. In this case, I took off as much of the paper as I could, in order to reveal more of the painted background.
I was very happy with how the two pieces came together, but it wasn’t complete to me. I wanted to tone down the bright pastel colors with a bit of a vignette, and I wanted to give it some depth, so I decided to make it shimmer.
I found some pewter colored Perfect Pearl powder and went to work. I used the perfect medium that came with the powder to establish a rough vignette around the edges. I applied the Perfect Pearl powder, then brushed away the excess. When that was done, it looked nice, but it wasn’t grunged up enough for my taste. I used my finger to rub the vignetted areas. This smudged the Perfect Pearl and added dirt and oil from my fingers to make it blend nicely with the center of the image. In the end, the glimmer worked its way across the entire piece. Here is the final result.
